Are you ready to harness the power of WP Event Aggregator and bring a world of events to your WordPress site? Look no further. In this step-by-step guide, we’ll walk you through the process of getting started with WP Event Aggregator, so you can effortlessly import events from various platforms and create a dynamic event hub on your website.
Why Choose WP Event Aggregator?
Before we dive into the setup, let’s understand why WP Event Aggregator is a game-changer for your website. This plugin allows you to import events from platforms like Facebook, Eventbrite, Meetup, and more, and display them beautifully on your WordPress site. It simplifies event management, saves you time, and keeps your audience engaged with up-to-date event listings.
Step 1: Installation and Activation of WP Event Aggregator
The first step, of course, is to install and activate the WP Event Aggregator plugin. Here’s how:
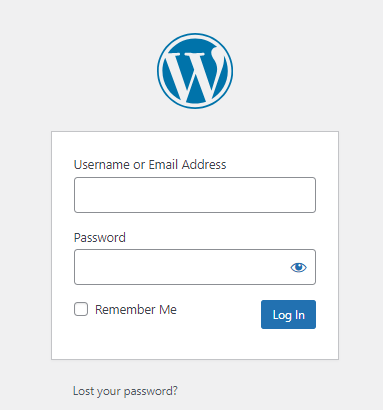
Login to your WordPress Dashboard: Navigate to your WordPress admin panel.
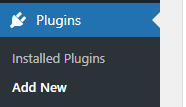
Go to Plugins: Click on “Plugins” in the left-hand menu.
Add New Plugin: Click “Add New.”
Search for WP Event Aggregator: In the search bar, type “WP Event Aggregator.”
Install and Activate: Click “Install Now” and then “Activate” once it’s installed.
Step 2: License Activation (Pro Version Only)
To access advanced features and receive updates, you’ll need to activate your WP Event Aggregator Pro license. Here’s how:
Navigate to WP Event Aggregator: In your dashboard, go to “WP Event Aggregator.”
License Activation: Click on “License” In the settings menu and enter your Pro license key.
Activate License: Click “Save and Activate”
Please note that this step is specific to the Pro version of WP Event Aggregator and may not apply to the free version. The Pro version offers additional functionality and support, making it an ideal choice for users who require advanced event management capabilities.
Step 3: Setting up Event platforms
Now, let’s connect the platforms from which you want to import events. WP Event Aggregator supports a variety of platforms, including Facebook, Eventbrite, Meetup, iCalendar, and more.
Go to Settings: In your WP Event Aggregator Plugin, click on platform you want to import events from, e.g., Facebook
Configure Settings (Given In Brief in next step for each of the supported platforms): Follow the on-screen instructions to configure the settings for that platform. This usually involves connecting your account or adding relevant details.
Step 4: Importing Your First Event
Once your event platform is configured, it’s time to import your first event:
Go to WP Event Aggregator dashboard.
Select platform: Choose the platform you configured in the previous step.
Import Events: Click the “Import” button, and WP Event Aggregator will start fetching events for you.
Below are the ways to import events from various Platforms supported by WP Event Aggregator:-
- Importing Events from Eventbrite in your WordPress site: A Guide with WP Event Aggregator.
- Bringing Meetup Events to Your WordPress Site: Importing with WP Event Aggregator.
- Seamless Event Import from Facebook In Your WordPress Site : Using WP Event Aggregator.
- Importing Events from an iCal (.ics) File with WP Event Aggregator In Your WordPress Website.
Step 5: Displaying Events on Your Site
Now that you’ve imported events, it’s time to display them on your website. WP Event Aggregator offers various ways to do this, including short codes and widgets. For example, you can use the following short code:
[wp_events col=”2″ posts_per_page=”12″ category=”cat1,cat2″ past_events=”yes” order=”desc” orderby=”post_title” start_date=”2017-12-25″ end_date=”2018-12-25″]
Simply add this shortcode to any post or page to showcase your events.
Congratulations on Your WP Event Aggregator : WordPress Journey
WP Event Aggregator offers numerous customization options, so you can tailor the look and feel of your event listings to match your website’s style.
Feel free to explore the plugin’s settings, experiment with different display options, and check out our support resources for more advanced features and troubleshooting tips.
Congratulations! You’ve successfully taken your first steps into the world of WP Event Aggregator. You can now effortlessly import events from various platforms, create a stunning event hub, and keep your audience engaged with up-to-date event listings.
Stay tuned for more articles and tips on how to make the most of WP Event Aggregator for your WordPress site. Happy event importing!


[…] “Getting Started with WP Event Aggregator: A Step-by-Step Guide“ […]
[…] “Getting Started with WP Event Aggregator: A Step-by-Step Guide“ […]
[…] “Getting Started with WP Event Aggregator: A Step-by-Step Guide“ […]
[…] “Getting Started with WP Event Aggregator: A Step-by-Step Guide“ […]
[…] “Getting Started with WP Event Aggregator: A Step-by-Step Guide“ […]
[…] Check our how-to guide for Getting Started with WP Event Aggregator […]
[…] “Getting Started with WP Event Aggregator: A Step-by-Step Guide“ […]