How to Create a Facebook Application and Authorize with Facebook For Importing Facebook Events using Import Social Event WordPress plugin
Log in to Facebook and open https://developers.facebook.com/apps or https://developers.facebook.com/. If you don’t have a Facebook developer account, follow the below step; if you are a developer, skip it.
- Click on the “Register as a Developer” link (highlighted above).
- In the first step “Accept the terms” and click continue.
- In the second step “Verify Account” and click continue.
- In the third step “Tell us about you”, select the appropriate section and click continue.
- Now you are a Facebook Developer. Click “Done” and you can now create the application.
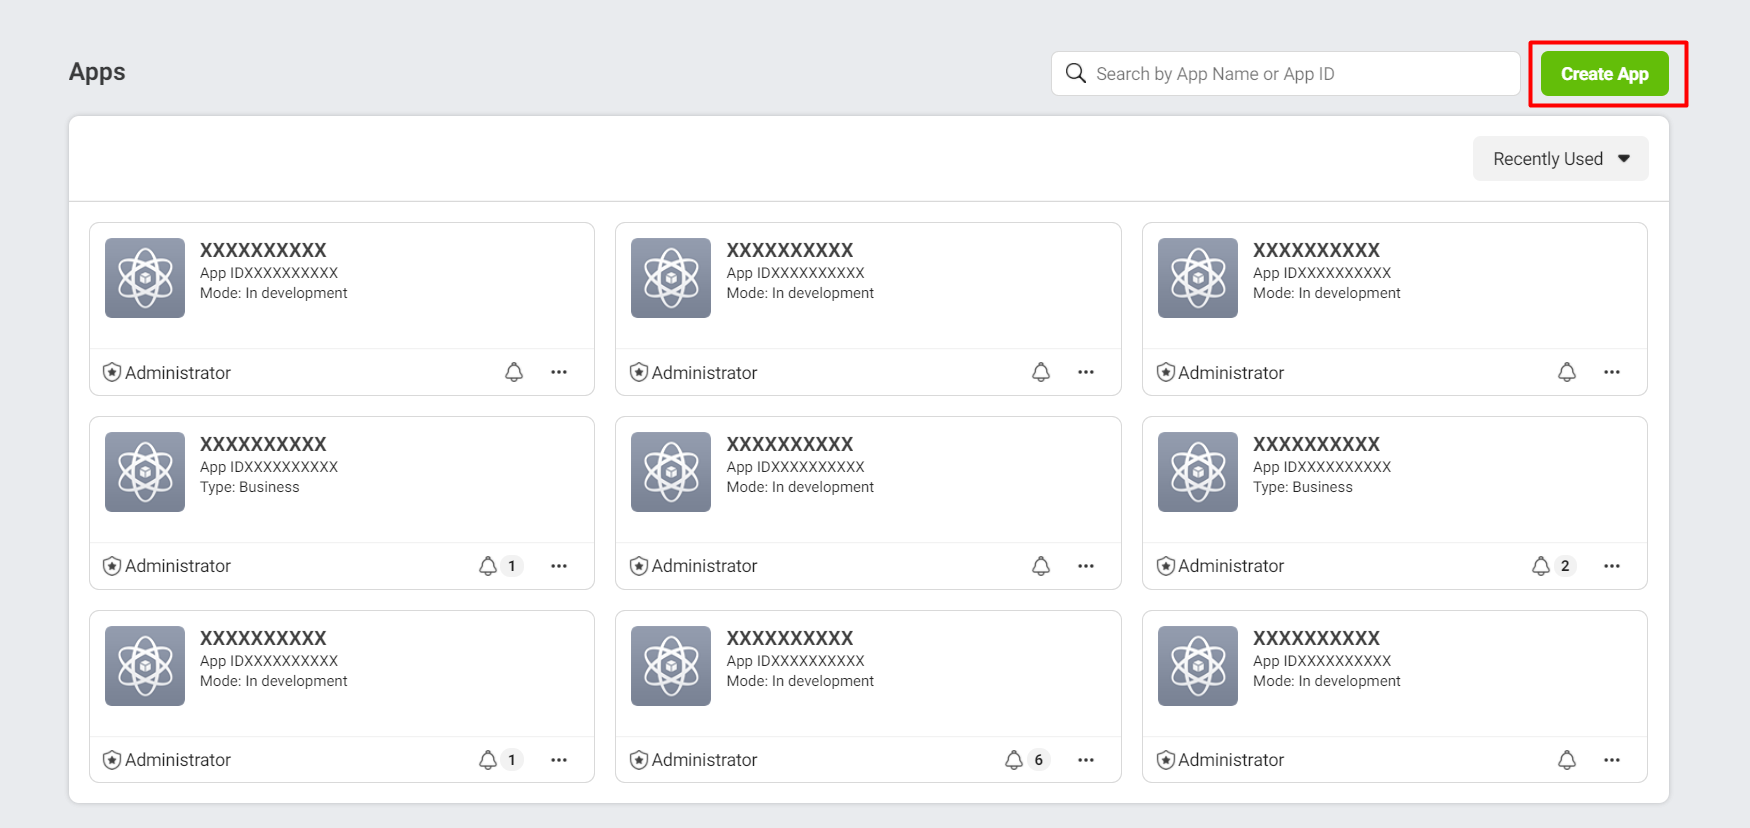
After creating a developer account and you can create a Facebook app here.
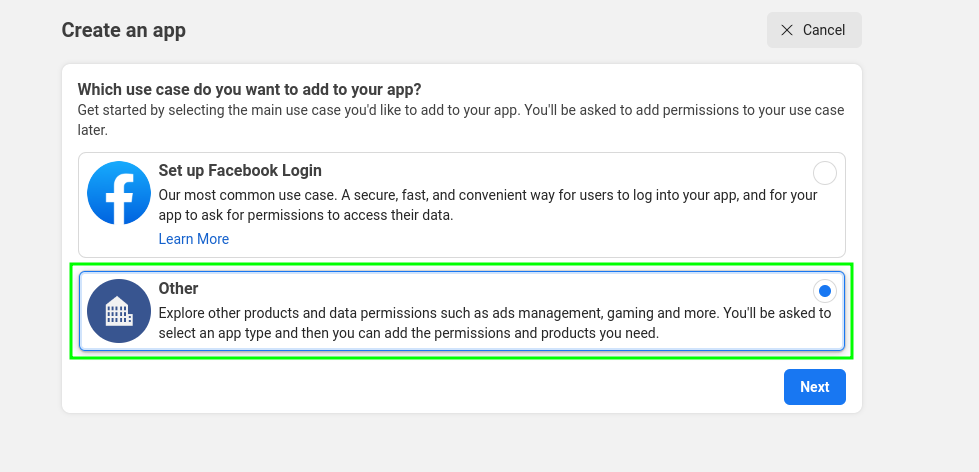
Click on “Other Option” To Go The Next Step.
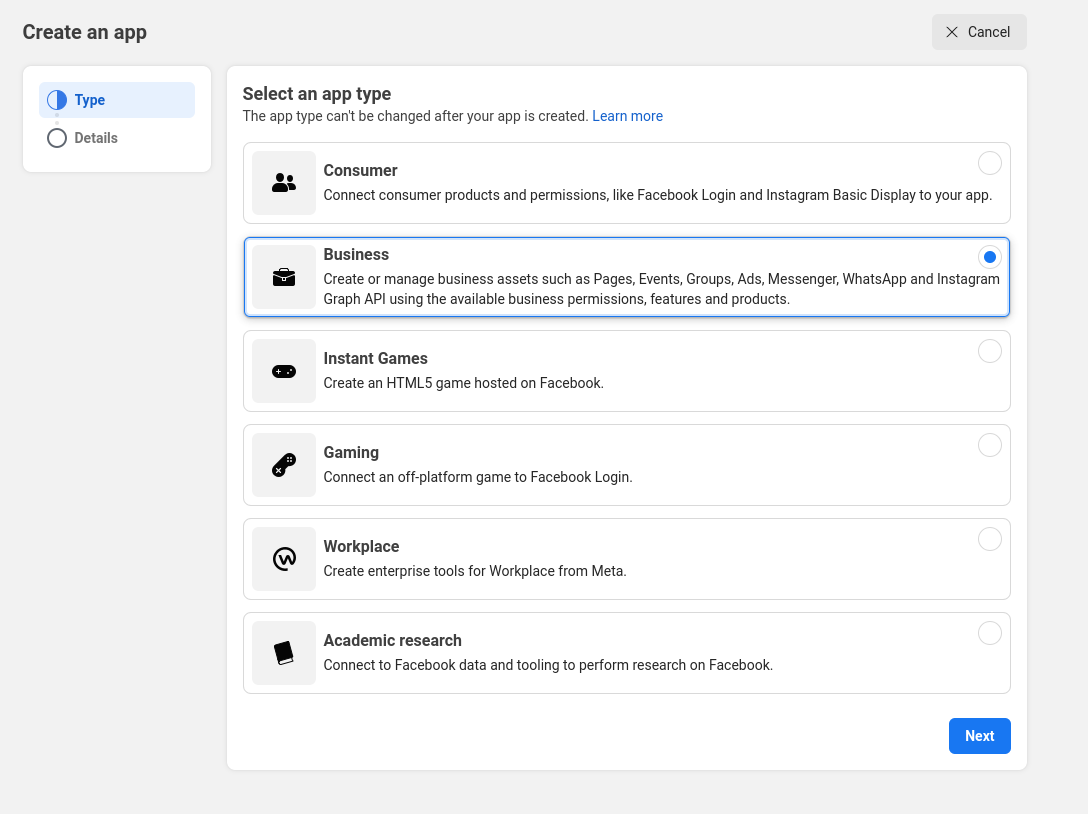
Click on “Business Option” to To Go The Next Step.
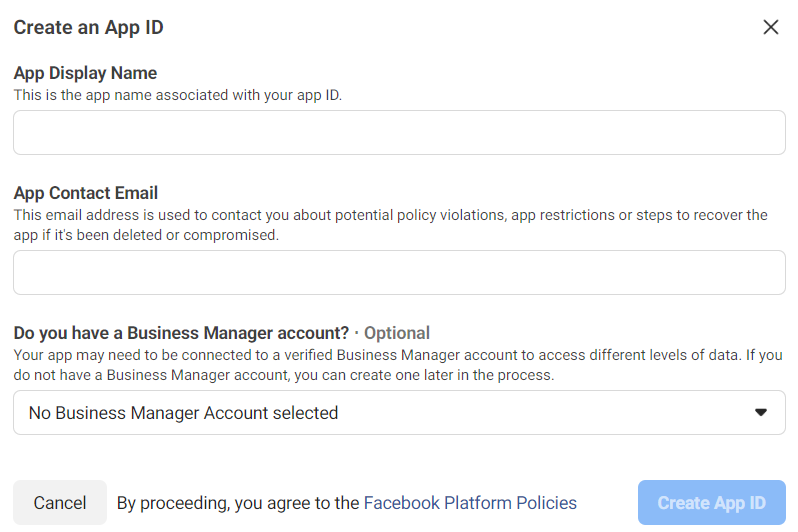
Give Display Name & Contact Email and your app will be created.
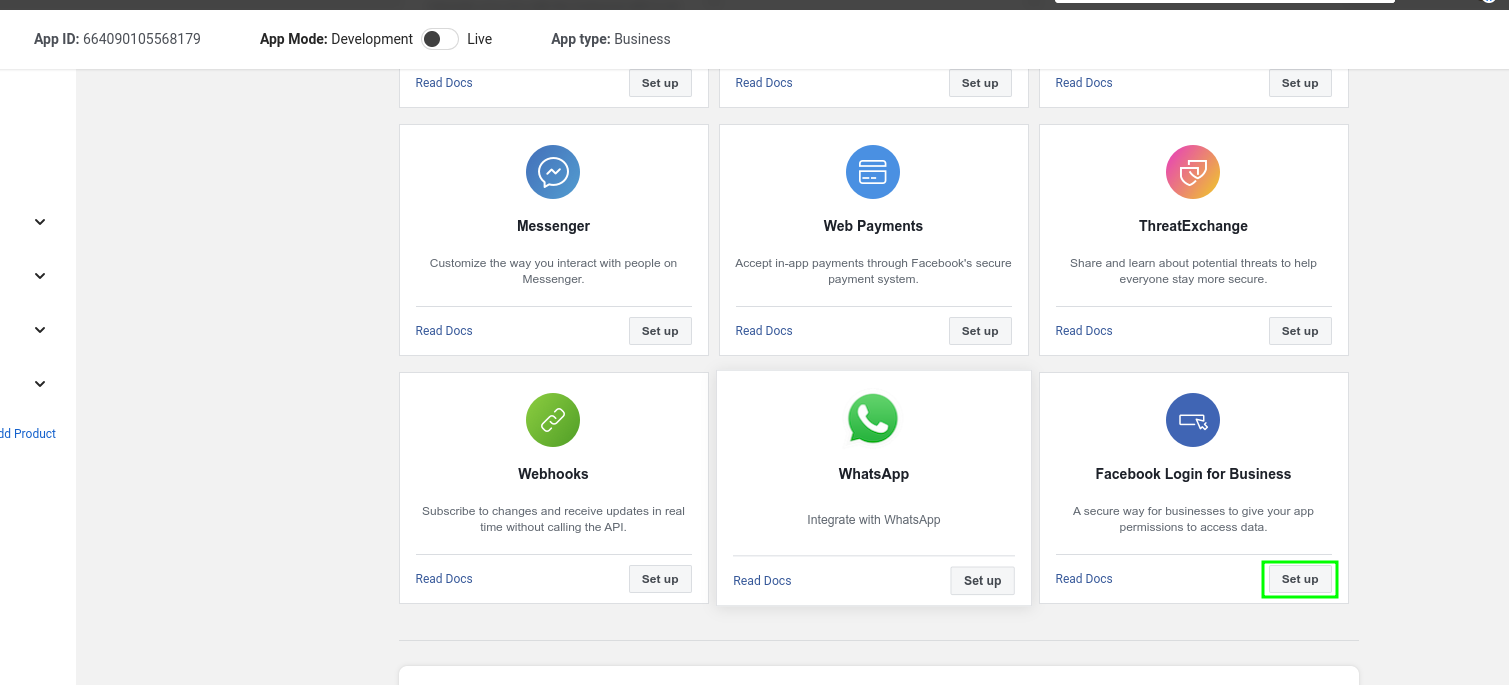
It will take you to the Facebook app dashboard. Now you need to add Facebook Login into your Facebook App. Select “Facebook Login for Business” and go ahead. You can add by clicking on Product+ too.
When you click the setup button the below window will display and you need to enter the Site OAuth Redirect URL and save it.
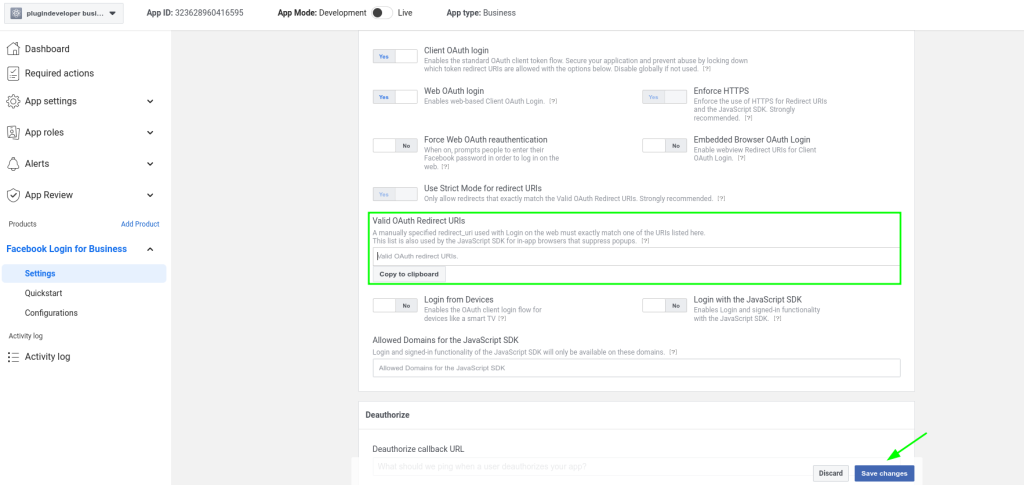
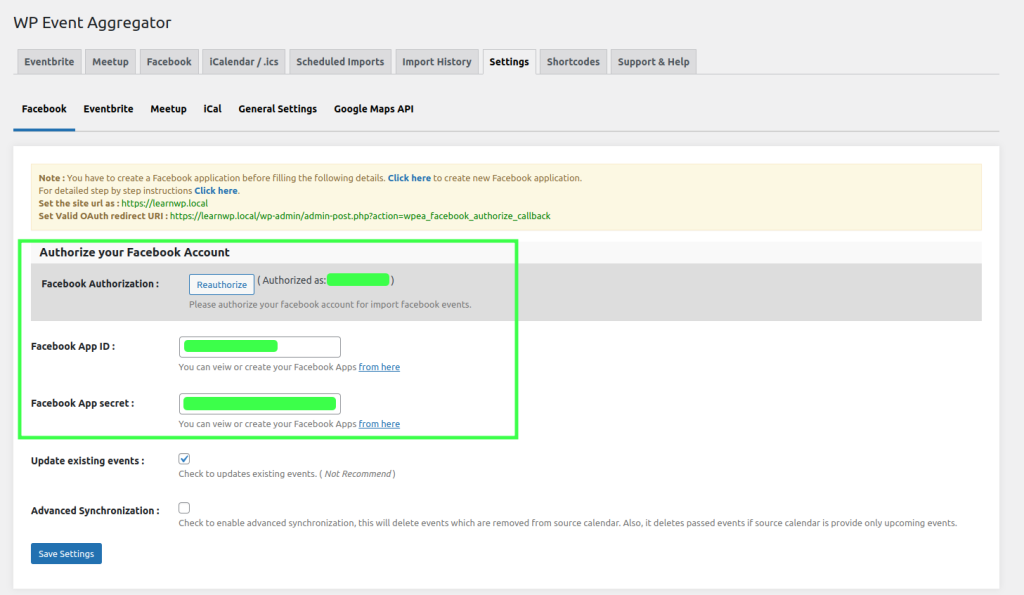
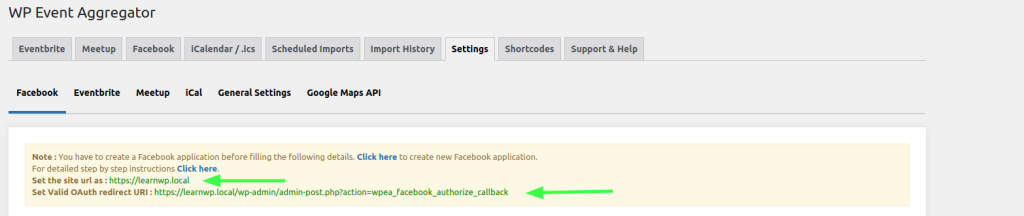
Go to the Plug-in setting page on your website and copy “OAuth Redirect URLs“
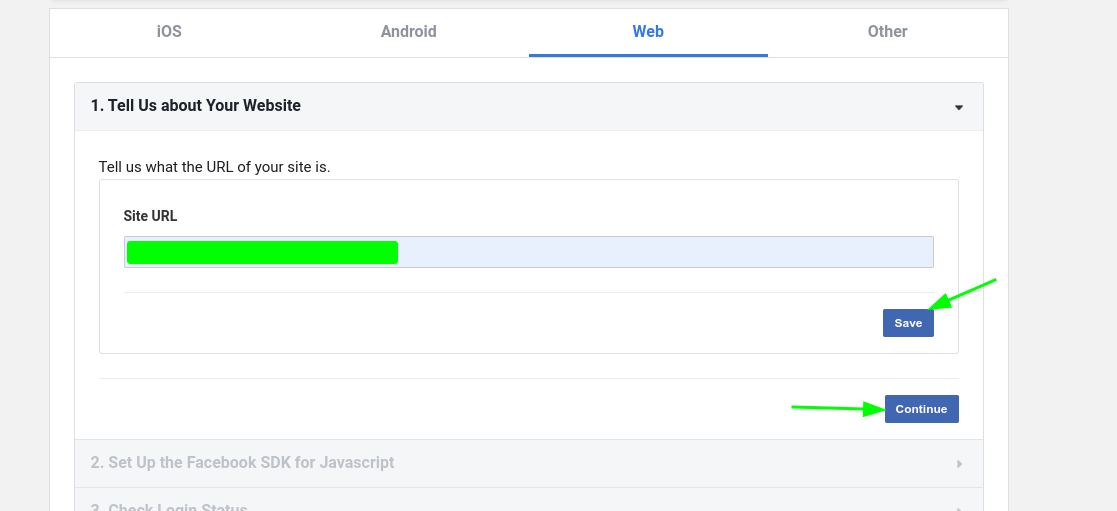
After saving the OAuth redirect URL, cruise over to the “Quickstart” menu on the left sidebar, and give the web section a click.

Following this step, toss in the site URL into the input, hit save, and continue.
Once Done, In Settings-> Basic Settings menu copy and paste Facebook “App ID & App Secret” in the plug-in settings page on your website and save the change.
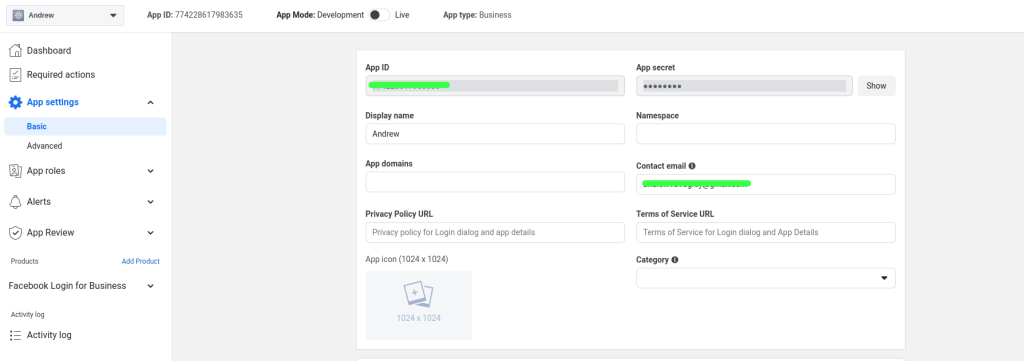
In the Plug-in setting, you need to add your Facebook App ID & Secret Key & Save it. After saving both details Authorise button will appear and you can authorise it.

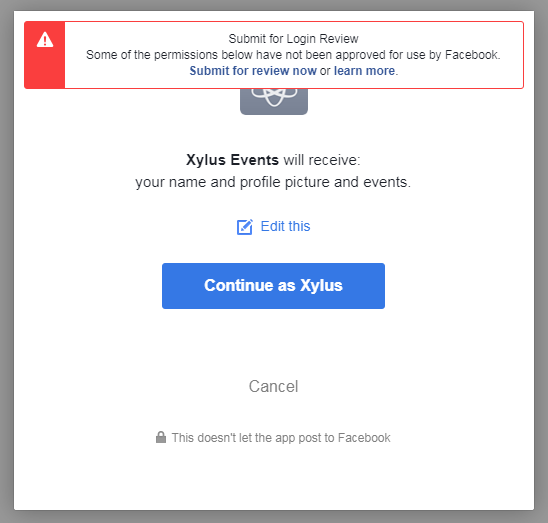
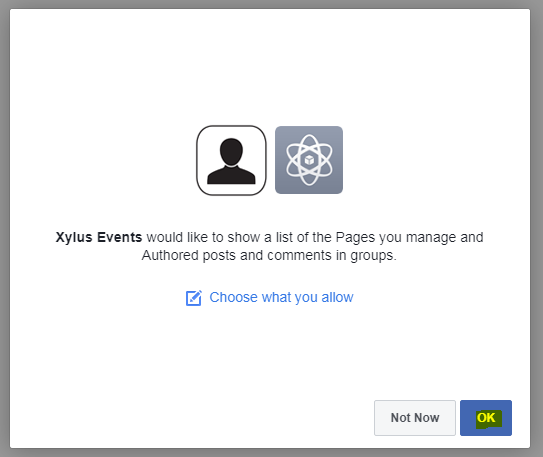
In the plug-in Setting page on your website option to “authorise Facebook app button will be shown. Click on Authorize and follow the process. There are some warnings and you can ignore the warning and click the “Continue as XYZ” button.